Having a coming soon page is a great way to create interest and buzz about an upcoming product or service, but also for informing about planned maintenance. If it’s done well your visitor will bookmark, subscribe to your newsletter or follow your social profile. With this in mind, one should consider a coming soon page as any another landing page that server an important purpose and need to convert visitors into the funnel. Many count down website use jQuery countdown scripts to serve the timer. It is often the most flexible and simple approach and you should check the options out. In this part of the tutorial we are not diving into the code yet.
We will create a Clean Coming Soon Page in Photoshop and in the later part we will convert it into a working HTML5 with countdown timer, follow along as we will go in full detail on about this tutorial.
[exec]$filestr = file_get_contents(‘http://www.tripwiremagazine.com/googleadsensebelowmoretag.inc’);echo $filestr;[/exec]
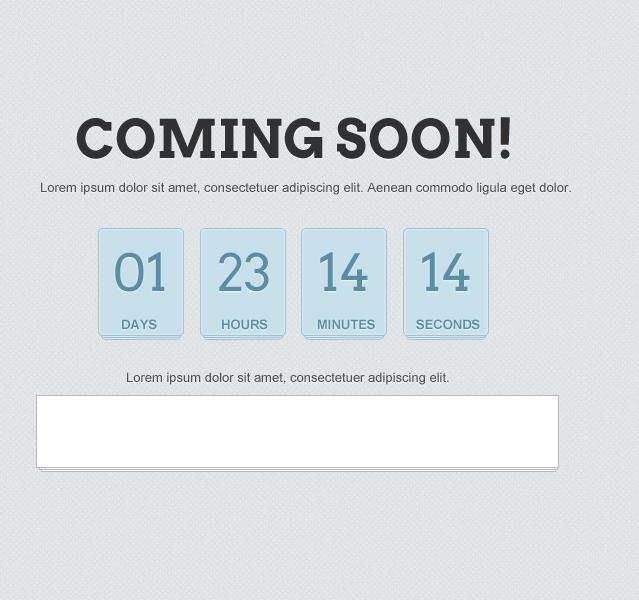
The end result for this tutorial, the PSD is available for download at the bottom of this article:

Things we need before we begin
- Arvo font from Fontsquirrel
- Social Media icons from Purty Pixels
- Background Pattern from here
Let’s Begin
Open your Photoshop and create a new canvas, set it to 980 by 600. For the sake of this tutorial, the width would 639opx.
Duplicate the background pattern (CTRL + J) and fill the entire canvas.
Use Arvo font on our header text, bold 53pt #313132. For the second font is Arial 13pt
For the font Blending Options drop shadow, set the blend mode to normal #FFFFFF, distance and size to 1px.
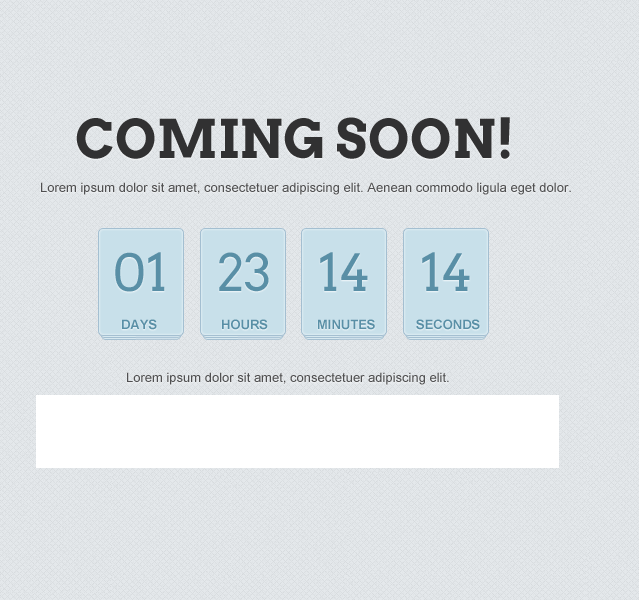
Grab your Rounded Rectangle Tool (U) and set the radius to 5px, draw the same shape as above. Name this as holder
Set the stroke foreground color #a4bfd1 and set the size to 1px
Inner glow foreground color is #FFFFFF, and size 4px
Duplicate the holder layer 2 times, press the down arrow key 2 times so it will move 2px per layer.
Hold CTRL + Click on holder layer for the last two below, press CTRL + T to resize and hold CTRL as you resize the layer.
You’ll have an image as above
Group the holder layer (CTRL +G) and duplicate the group (right click > duplicate group) and line them like the one above
Add the text, font used is Arial Bold 13pt #598fa6
For the font drop shadow, blend mode is set to normal color is #FFFFFF, distance and size to 1px
For the number font we used Arvo, 51pt #598fa6
Next is to put the numbers and words on the layer. Make a group folder (CTRL + G) call it time.
Select Marquee Tool (M) and draw the same shape as above, fill it with #FFFFFF
For the stroke foreground #bababa and size to 1px
Duplicate the layer and do the same step we did for the holder layer, name this email holder
Next is to select Marquee Tool (M) inside the email holder layer and fill it with #FFFFFF
Create a new layer, and use Marquee Tool (M) fill it with #c8e0ea. Name this layer button
Next is to delete the excess layer, to do that hold CTRL + Click on the input layer while button layer was selected and press DELETE
On button layer stroke #598FA6 size 1px
We added a text, font used was Arial 14pt #598fa6
For the font drop shadow, blend mode is normal color #FFFFFF, distance and size to 1px
Next is to add a text on input field, font is Arial regular 17pt #d3d3d3
We are done!
Working with coming soon page should give your user an estimate time, and using social media icons could help them to stay connected. Look out for the second part as we convert it into a working HTML5 with countdown timer, I hope you learned something new today and gained some tricks to be added into your webdesign and Photoshop arsenal.
[wp-like-locker]
Thanks for liking this article. To be updated whenever we release new freebies and tutorials please like our Facebook page now. You can find the like button on top in the right side. We appreciate your support!
Download the PSD here
[/wp-like-locker]
[exec]echo get_avatar( get_the_author_email(), ’80’ );[/exec]
Alex Naz is a professional writer with a proven track record. He is a creative blogger who is passionate about web design, SEO and web development. He is also a family man and has a passion for the outdoors.


