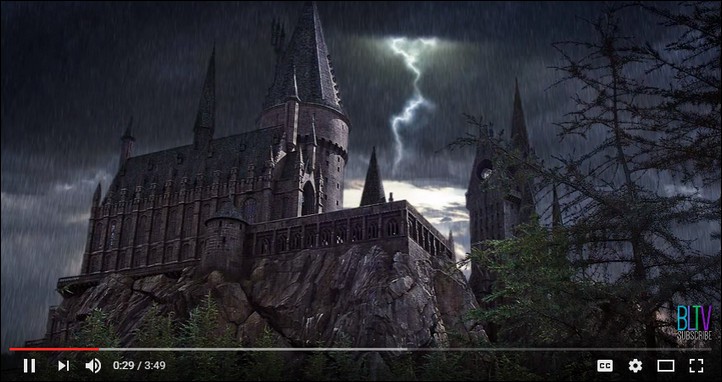
This Photoshop tutorial go through some really basic and important Photoshop techniques while showing you how to create a fearsome lightning bolt from scratch. You will be using Filters, Adjustment Layers and much more to create the lightning effect.
[exec]$filestr = file_get_contents (‘http://www.tripwiremagazine.com/googleadsensebelowmoretag.inc’);echo $filestr;[/exec]
We found this how-to-make-a-lightning video that will help you master Photoshop lightnings.
See our favorite Photoshop lightning tools here
We also added a short step by step tutorial below. Good luck!
Step 1: Create Lightning
a) Create a new document e.g. 600x600px
b) Create a new layer and name it Lightning
c) Open the Gradient editor (Type G and click on the gradient in the top left corner) and create a black and white gradient with a narrow gray area as shown below:
d) Paint the document with a linear gradient. The more narrow the grey area is the more clean the lightning will be so don’t make it too narrow.
e) Next make sure you have selected black as foreground and white as background
Then goto Filter > Render > Difference Clouds. Feel free to undo and redo to get the lightning effect you want:
f) Notice the main black line through the middle. This will be your lightning bolt. But to isolate it, you first invert (Image > Adjustments > Invert or Ctrl+I) it:
f) Add a new Adjustment layer with levels. You could also apply the levels directly but really in this tutorial you may need the flexibility later to fix the levels
g) You should adjust the levels to increase the intensity of the lightning.
Step 2 Add Color
a) Create a new layer and paint it with a blue gradient
b) Set the blending mode to overlay
c) Create another layer and call it Red Light. Then set the layer blending mode to soft light. Select a soft, big round brush and paint some lights with a red, yellow and/or a violet color
d) If you want to intensify the lightning even further I recommend you add an adjustment layer for Curves and Hue/Saturation. Set the Curves first. Individual settings for your setup may be needed.
Than only adjust the Lightning a bit down in the Hue/Saturation layer
The Result – Lightning Created in Photoshop
[exec]echo get_avatar( get_the_author_email(), ’80’ );[/exec]
Dustin Betonio is a Translation Management graduate at University of Mindanao. His earlier career was devoted on customer service outside the information highway. Currently studying Law in the same University.


Thank you very much for this tutorial, it was very helpful.
@Jessica, i’m not an expert, but one thing you can do is change the lightning into a brush and go from there, in the above example, make it into one layer, change to black and white, invert the image and go to Edit > Define Brush (in a brush anything that’s black will show up as the selected colour, anything white won’t show, anything in between (grey) will show as a shade of the colour)
Does anyone know how to create this lightning on to a white background instead of black??
Thanks! Wonderful!
Nice tutorial also shared on my website
🙂
The lightning effect is really coool
[…] Here Spread the Design Kingdom love! If you like this article, please consider sharing it with your friends and followers:Bookmark on DeliciousDigg this postRecommend on FacebookBuzz it upShare on LinkedinShare via MySpaceshare via RedditShare with StumblersTweet about itSubscribe to the comments on this postTell a friend […]
this is cool bro
Thanks in advance for your help
this picture is amazing
Gee I’ve never seen lightning thats pink,yellow,blue and magenta. Thats AWESOME.
Great lightning tutorial. I’ve made 1 myself but its kind of dull. Can’t quite get the color outcome I want.